MySQL: via Docker container server and 'mysqlsh' shell client
In this page, we are going to look at how to:
- install Docker
- install a mysql server Docker 'image'
- install 'mysqlsh' shell client
- start the mysql server
- connect using the 'mysqlsh' client
- run SQL commands (to create and populate tables, and query them)
1. install Docker
Installing Docker consists of installing 'Docker Desktop' on Windows/Mac: https://www.knowledgehut.com/blog/devops/docker-installation. Install, then launch Docker [by running Docker Desktop on Windows, or the Docker app on the Mac] - this starts the Docker 'daemon' (which MUST be running, while we work with Docker).
You can learn more about Docker here: https://docs.docker.com/get-started/overview/, https://opensource.com/resources/what-docker, https://www.infoworld.com/article/3204171/what-is-docker-the-spark-for-the-container-revolution.html, https://www.jigsawacademy.com/blogs/cloud-computing/docker-in-cloud-computing/.
2. install the mysql Docker image
An 'image' is a complete software environment, in this case, a mysql server. To install it, simply bring up a shell (Windows Command Prompt, or Anaconda Prompt, or a 'cygwin' shell etc, on a PC; a terminal, on a Mac), and run this command:
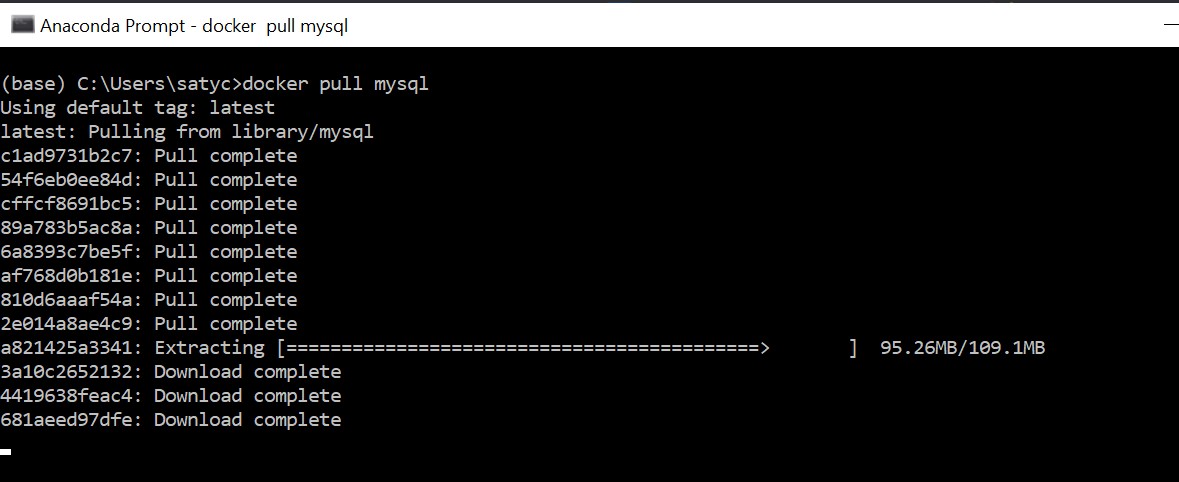
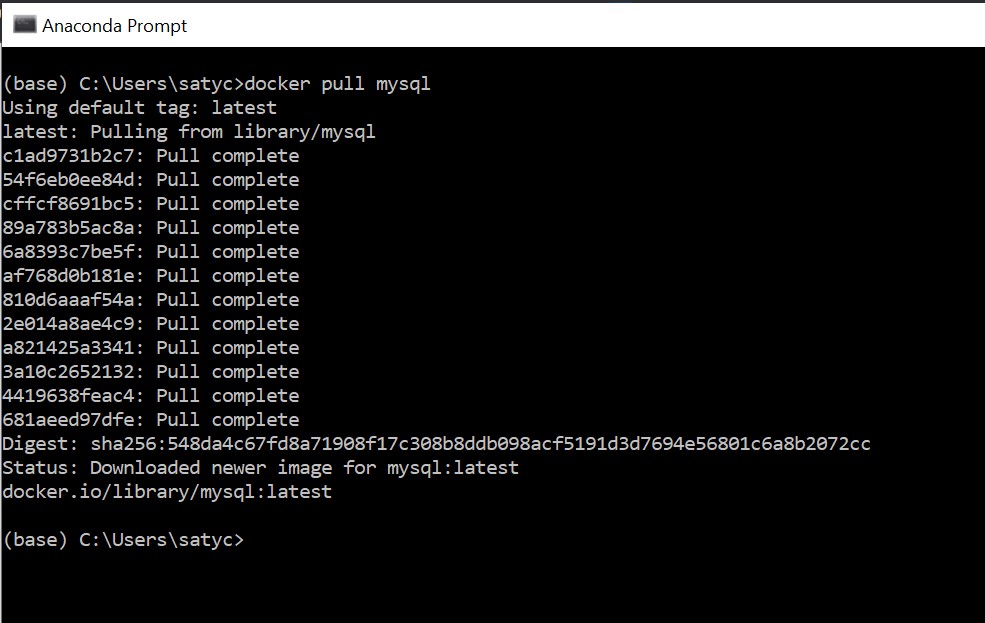
docker pull mysql
The above command will install an 'official' mysql server image that you will be running inside a Docker 'container' (a lite VM of sorts). For more about the mysql image, see https://hub.docker.com/_/mysql.
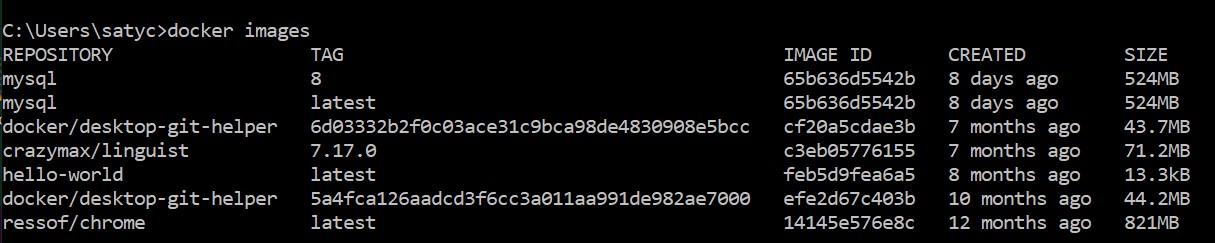
To verify that the image has been installed, you can run 'docker images' anytime, it will show you your available images, eg:
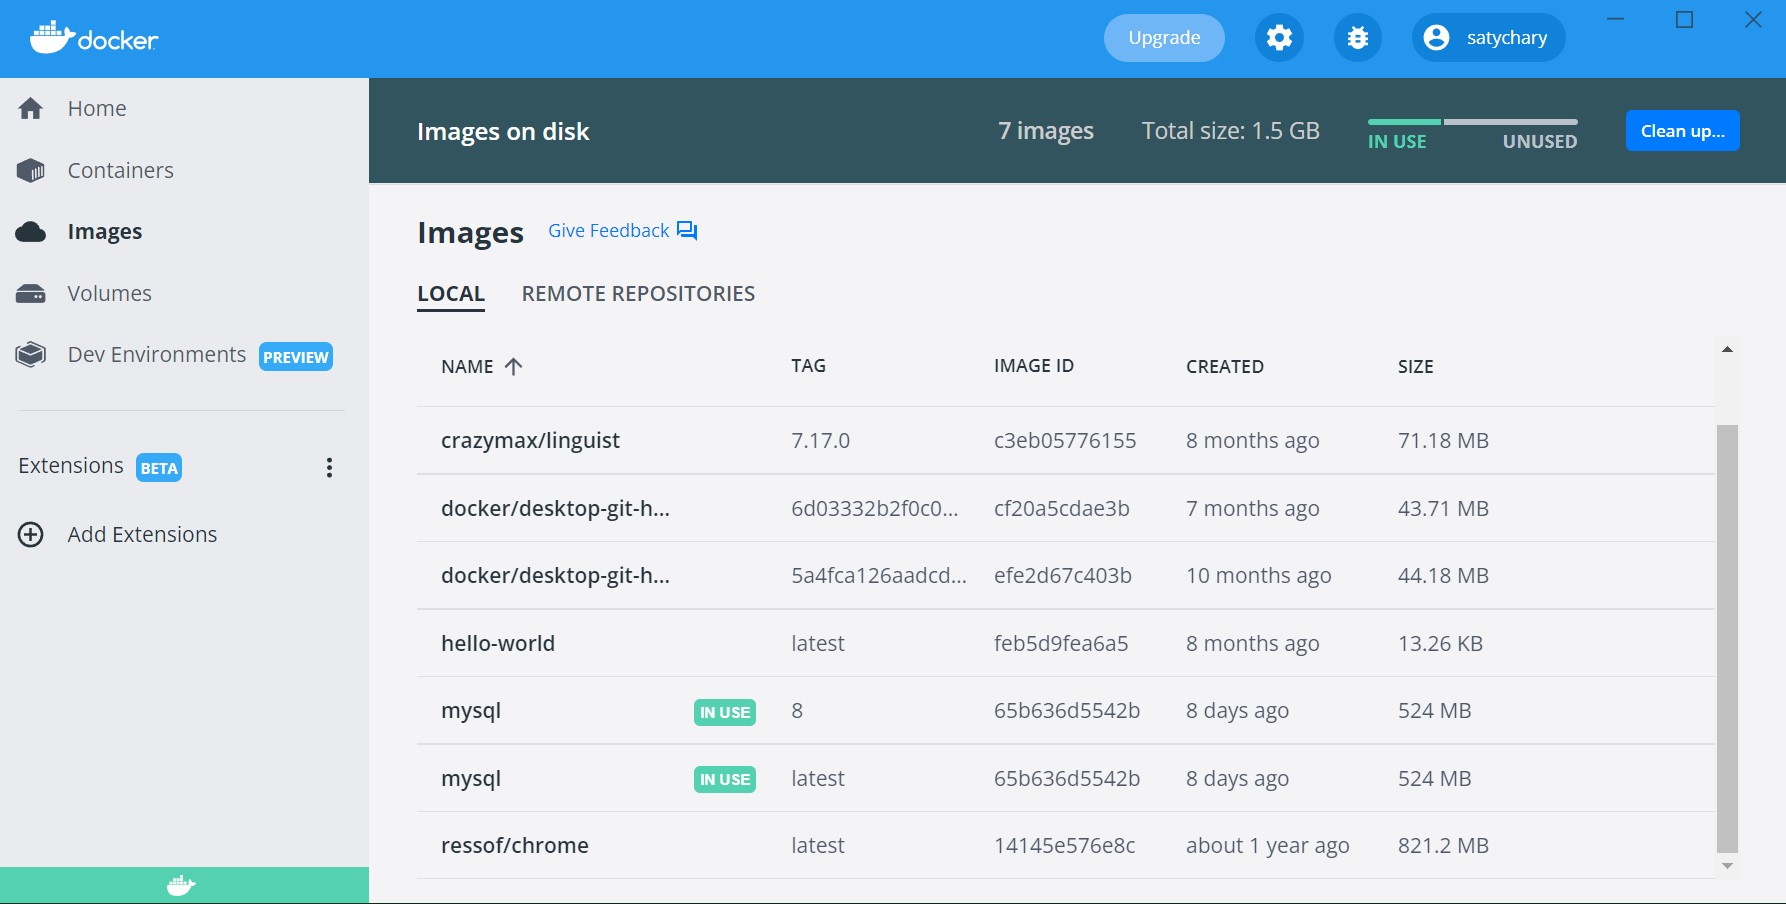
The Docker Desktop UI will also show the same list:
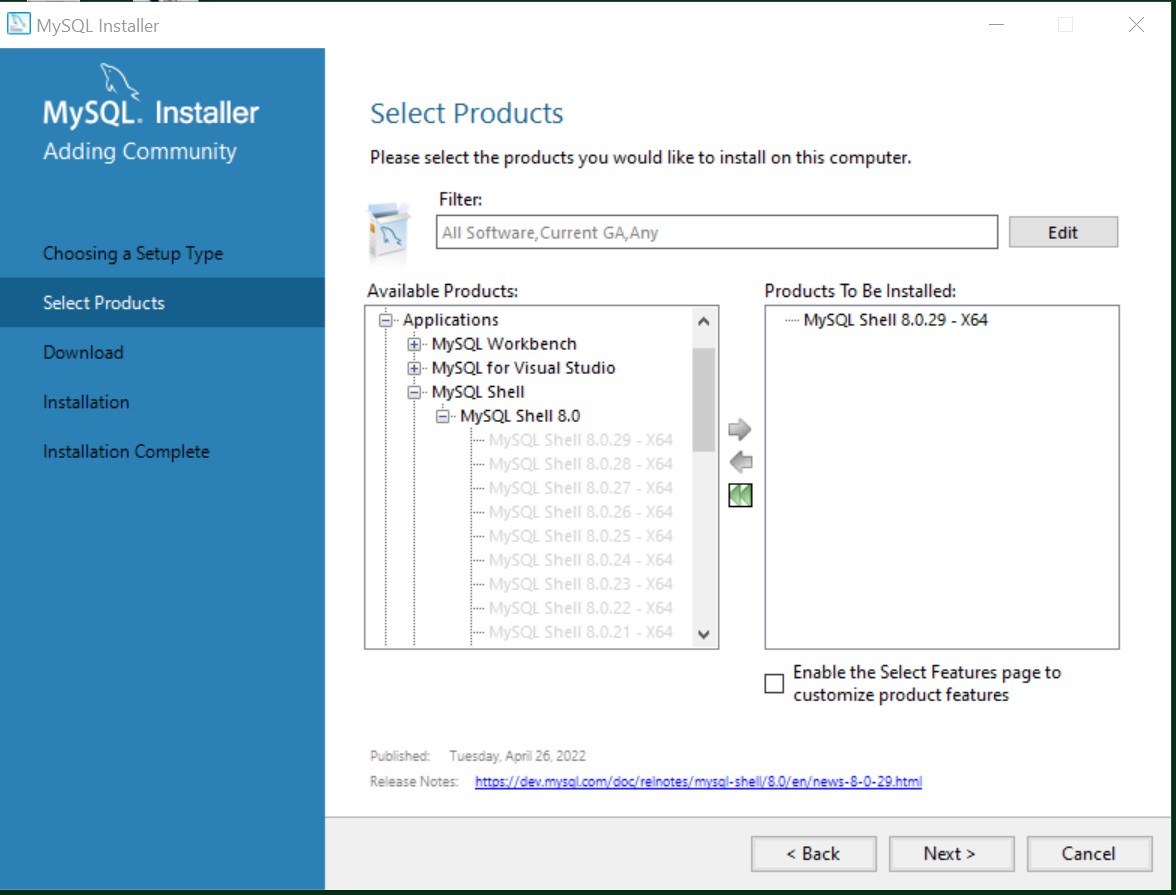
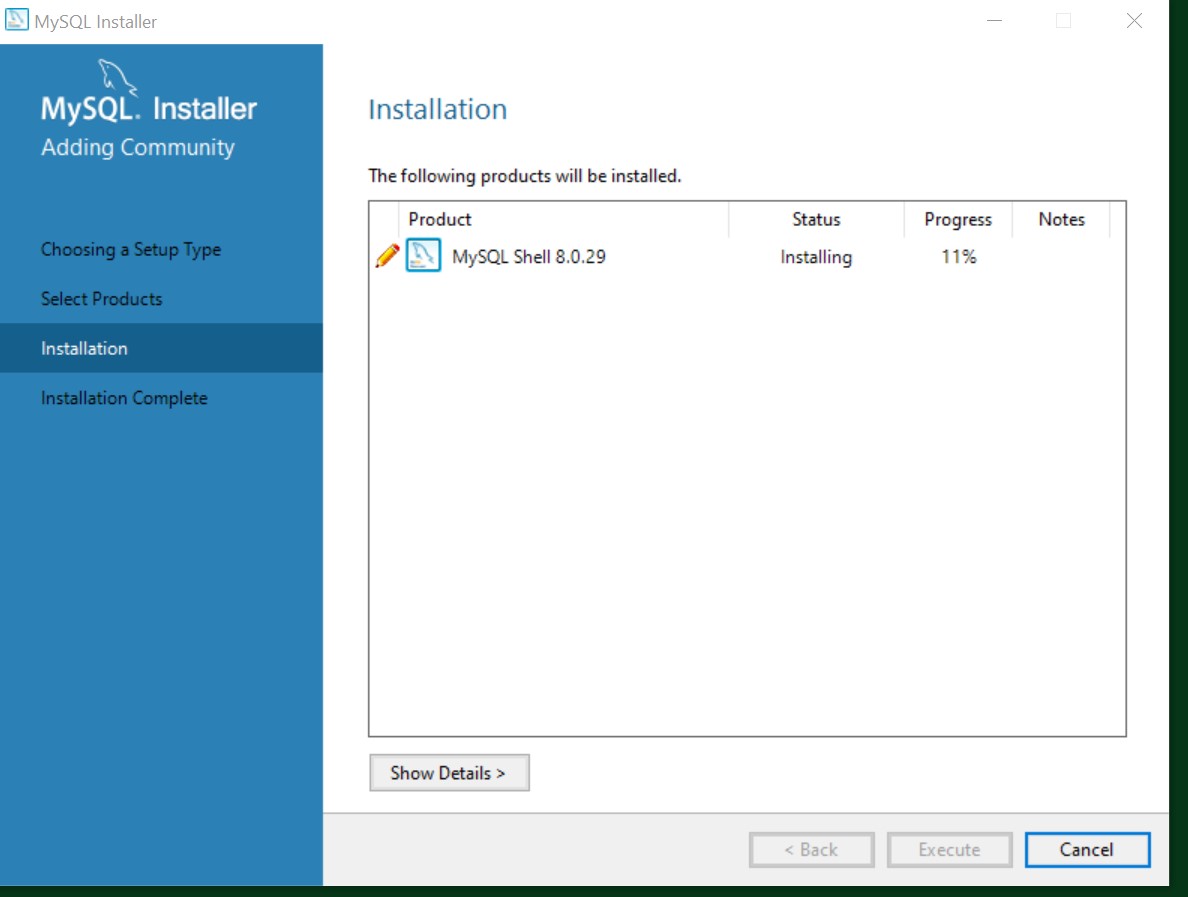
3. install the 'mysqlsh' client
A MySQL server can be connected to, by a variety of clients (similar to web servers and clients). A simple, command-line client is 'mysqlsh': https://dev.mysql.com/downloads/shell/
Download the installer from the above link, run it, and be sure to install *just the shell* - that is because we already have our server in the form of a Docker image.

4. start the mysql server
To start the server (inside a named container), run this:
docker run -d -e MYSQL_ROOT_PASSWORD=test --name hw2 -p 127.0.0.1:3307:3306 mysql
In the above, we are naming our container 'hw2', specifying a local IP address and port mapping (mysql port 3307 maps to host port 3306), setting up our password to be 'test', and specifying the 'mysql' image to be run:

To verify that our container is running, we can do 'docker ps':

You can also run 'docker info', or 'docker logs hw2' for a LOT more info :)
5. connect to the server using 'mysqlsh'
Our final step before starting to run SQL commands, is to connect to the server via our 'mysqlsh' client:
mysqlsh --uri root@127.0.0.1:3307
Note that we are using the IP address and port number we specified in the server ('docker run') command. The above command gives us this shell:
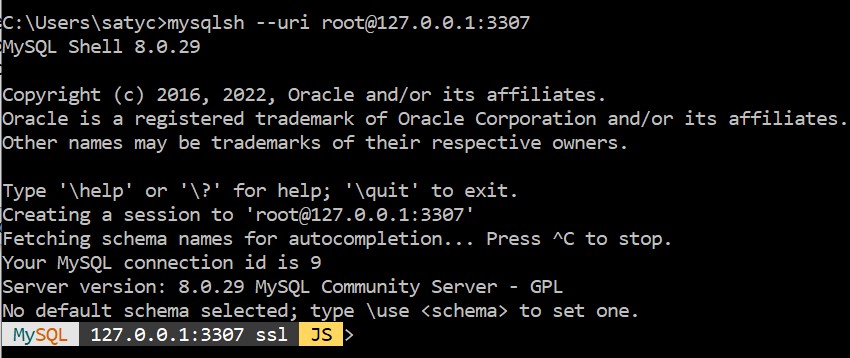
Cool! The colorful command-line prompt is where we can execute commands :)
The shell provides extensive capabilities. To get a taste of what they are, do '\help':
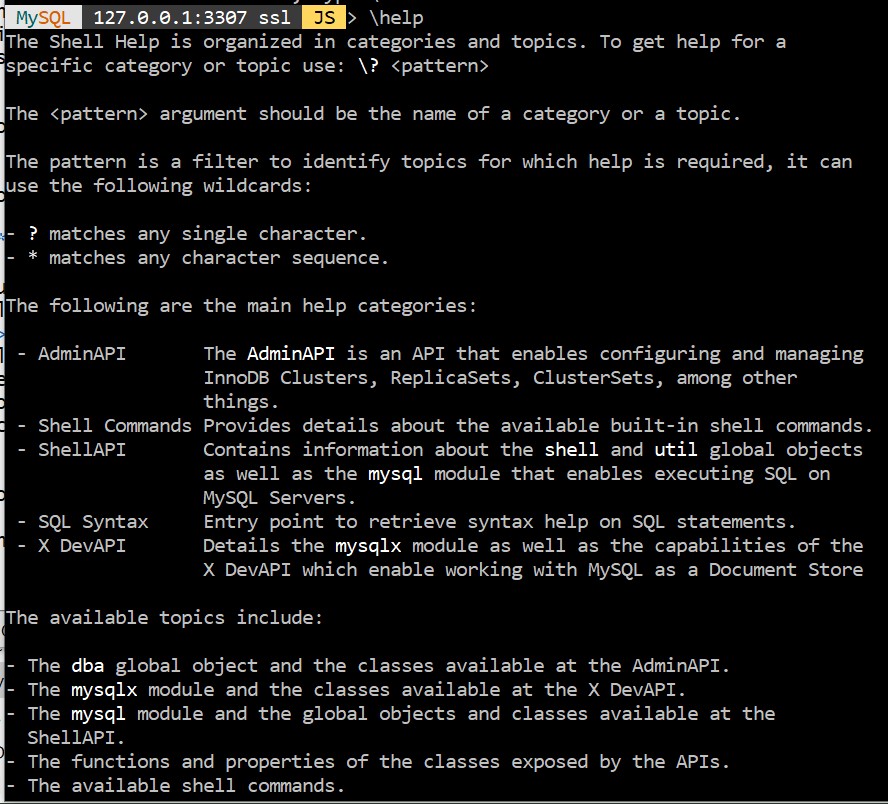
...
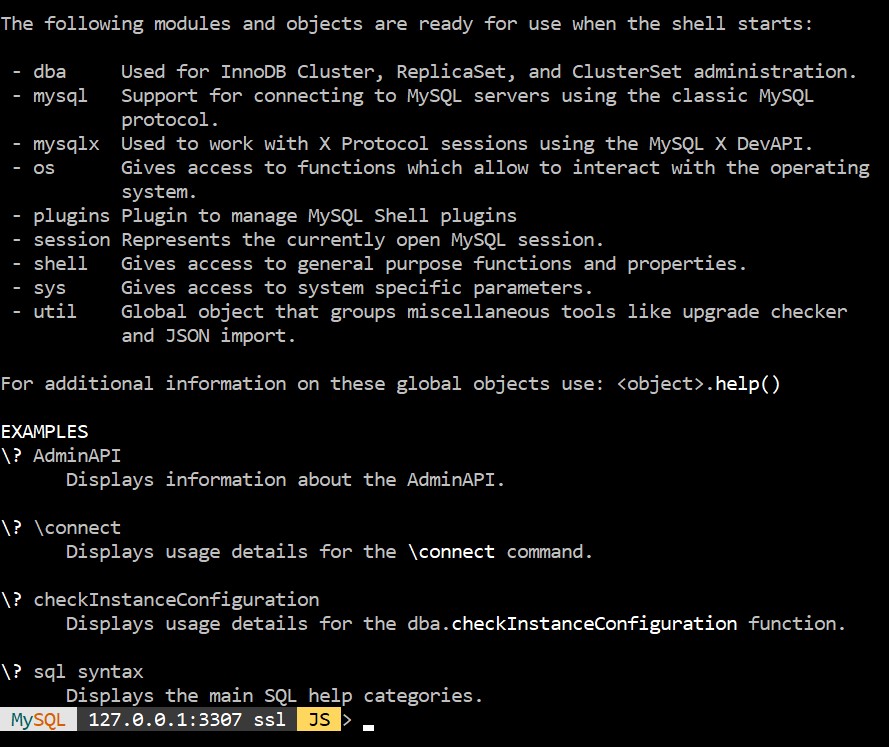
Thankfully we don't need most of those commands, for what we need to do.
6. run SQL scripts
Our 'mysqlsh' shell is a 'REPL' - it lets us create and populate tables incrementally (eg. by adding one row at a time), but that is not efficient; instead, we'd rather create a .sql text script file containing all our SQL commands, and execute the script file. We could modify the file (eg. change the query), execute it, modify, execute, modify, execute...
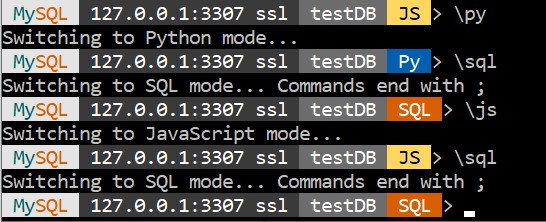
Guess what - the shell lets us run JavaScript (JS) and Python commands too, in addition to SQL! The default language is JS, but we can switch to Python or SQL anytime:
Simply create your .sql script file (using a plaintext editor, or VS Code etc.) in the directory where you ran the 'mysqlsh' command in step #5 above, then 'source' (run) it:

fun.sql contained the following (DDL commands):
CREATE DATABASE testDB;
USE testDB;

CREATE TABLE Persons (
    PersonID int,
    LastName varchar(255),
    FirstName varchar(255),
    Address varchar(255),
    City varchar(255)
);

select * from Persons;
Now we can run DML (SQL commands from another file):
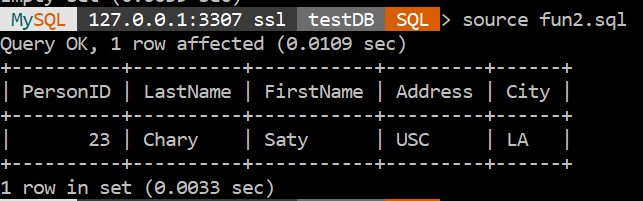
Contents of fun2.sql:
INSERT INTO Persons values (23,"Chary","Saty","USC","LA");

select * from Persons;
Neat! From here on, we'd modify DML (fun2.sql in our ex), source to re-execute, modify, source, modify, source...
To quit the client:

To stop the container, do 'docker stop hw2' (for ex.); do 'docker ps' to verify it has been stopped (the container won't be listed); or, you can kill ('docker kill') running containers. You can also entirely delete (remove) containers and images, using 'docker rm' and 'docker rmi' respectively; do 'docker --help' to see all the Docker commands you could run.
From the next time on, to "do SQL" (eg. to keep learning more), you would (do the following to be up and running, in minutes!):
- start the Docker daemon (Docker Desktop)
- start the server ('docker run')
- connect using the client ('mysqlsh')
- create and update .sql scripts, 'source' them